Metadata
What is Metadata?
Sometimes there's additional information you want to document. "Metadata", by definition, is data that provides information about other data. In SnapAttack, organizations can create and manage their own metadata fields for all of the content in the platform. Metadata fields and values are private to the organization, which makes it beneficial if you want to document your own internal SOPs or remediation process for a public detection without sharing sensitive information. Tags can be assigned universally or to specific content areas in the platform of your choosing, such as detections, threats, attack scripts, intelligence objects, or even on the collection-level.
For a full walkthrough on how to create, edit/delete, apply, and filter by metadata, refer to our tutorial below!
Common Use Cases
Due to the flexible nature of the metadata capability itself, there are a variety of ways in which teams can utilize the metadata. Some potential use cases are as follows:
- Project Management: By setting up either a "Select" or "Multiple Select" field, teams can use metadata as a project management tool to track assignees and statuses (To Do, In Progress, Completed, etc.)
- Internal Links: Users can configure the "Single Line Text" or "Multiple Line Text" fields to add links to internal references, like Jira or ServiceNow tickets, or Confluence or other knowledge repositories.
- Notetaking and Documentation: Teams can the "Multiple Line Text" fields for triage or remediation notes, documenting standard operating procedures, or adding notes while developing content.
- General Tagging: If there are non-standard/unique categories that your organization tracks internally, teams can utilize "Tag" field to create their own custom tags (e.g., CIS Benchmarks, DREAD/STRIDE threat model mappings, observed threat campaigns or privately tracked actors).
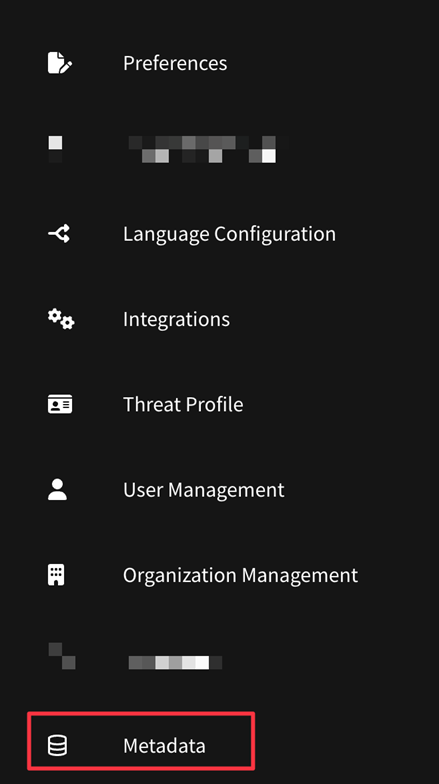
To access the Metadata configuration page, navigate to Settings, then click on Metadata.
Metadata Types
Once you are on the settings page, you will notice that there are categories of fields that you can choose from. Each type serves a specific purpose.
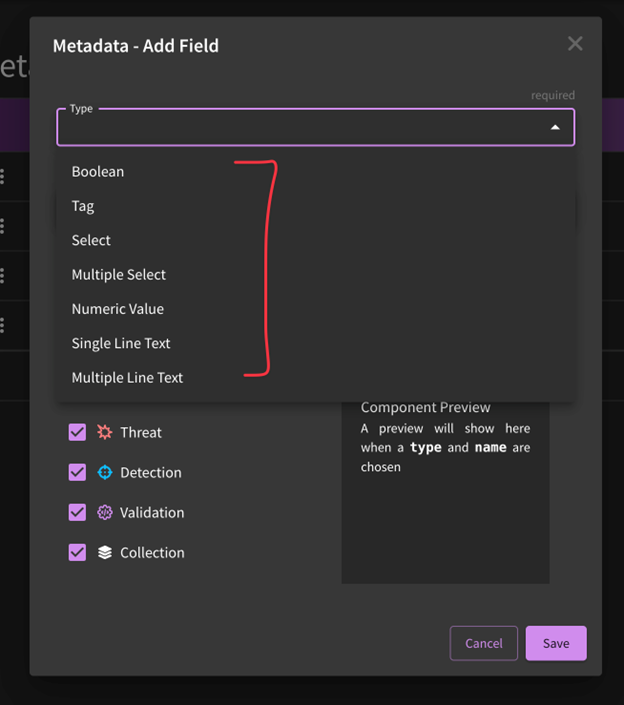
- Boolean: To set up true/false logic, use the Boolean field.
- Example: Reviewed ("true/false")
- Tag: Organizational workflows are not one-size-fits-all. As such, we have a flexible, customizable tagging option that can be set up to best reflect your workflow needs.
- Example: GUID ("59b3a907-fe4d-4277-9368-87581366cd79"), Internal Actor ("DARKTANGENT"), Internal Campaign ("PIZZAGATE")
- Select: Use this field for single-select options.
- Example: Assignee ("Elaine")
- Multiple Select: Use this field option for multiple-select options.
- Example: Assignees ("Elaine", "Jeff"), Team Reviews ("SOC", "Intel")
- Numeric Value: This field option is used to force numerical values.
- Example: Priority Score (1 -> 5)
- Single Line Text: Use this field option for single lines of text, links, other fields with unstructured values.
- Example: Jira Ticket ("TTP-31337")
- Multiple Line Text: Use this field option for larger text fields, including formatted markdown.
- Example: Incident Response Guidelines ("Step 1: Review Logs… Step 3: ???, Step 4: Profit!")
Creating Metadata
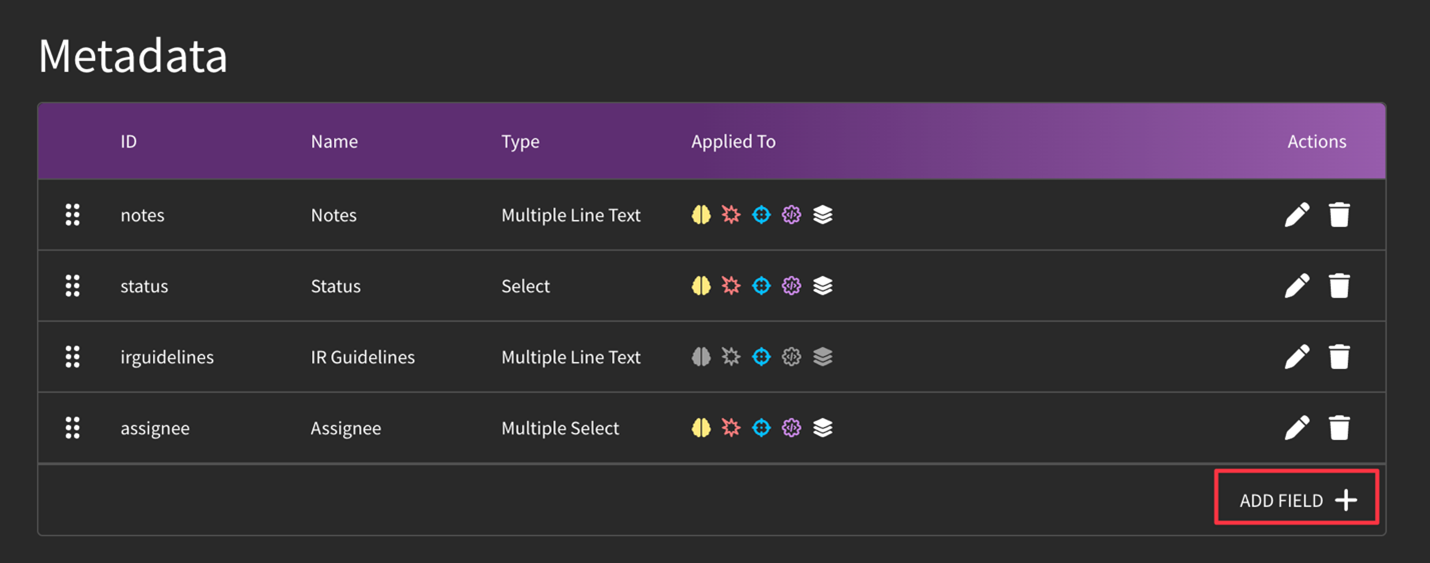
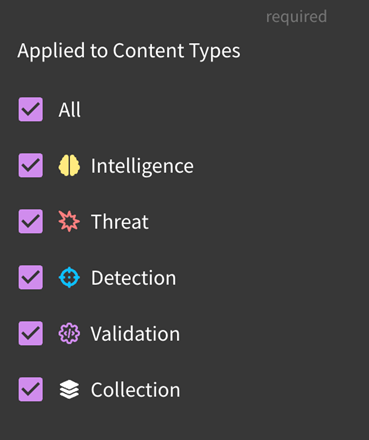
To create a new metadata field, click "Add Field". Then, determine the type of field you would like to create (Note: You should have a use case in mind for this part, not all field types can be changed once set). Once you've made your selection, choose an appropriate title for your field, then determine what values or options you want included in your field type. For example, if you want to set up "Assignee", you will need to include the names of the individuals who will be among the selections. Before you save your field, you will also need to determine to which content types you would like you field applied.

By default, metadata is applied universally to all content types. However, if you would like the field to only appear on certain items (detections, for example), you can make that determination when configuring the field.
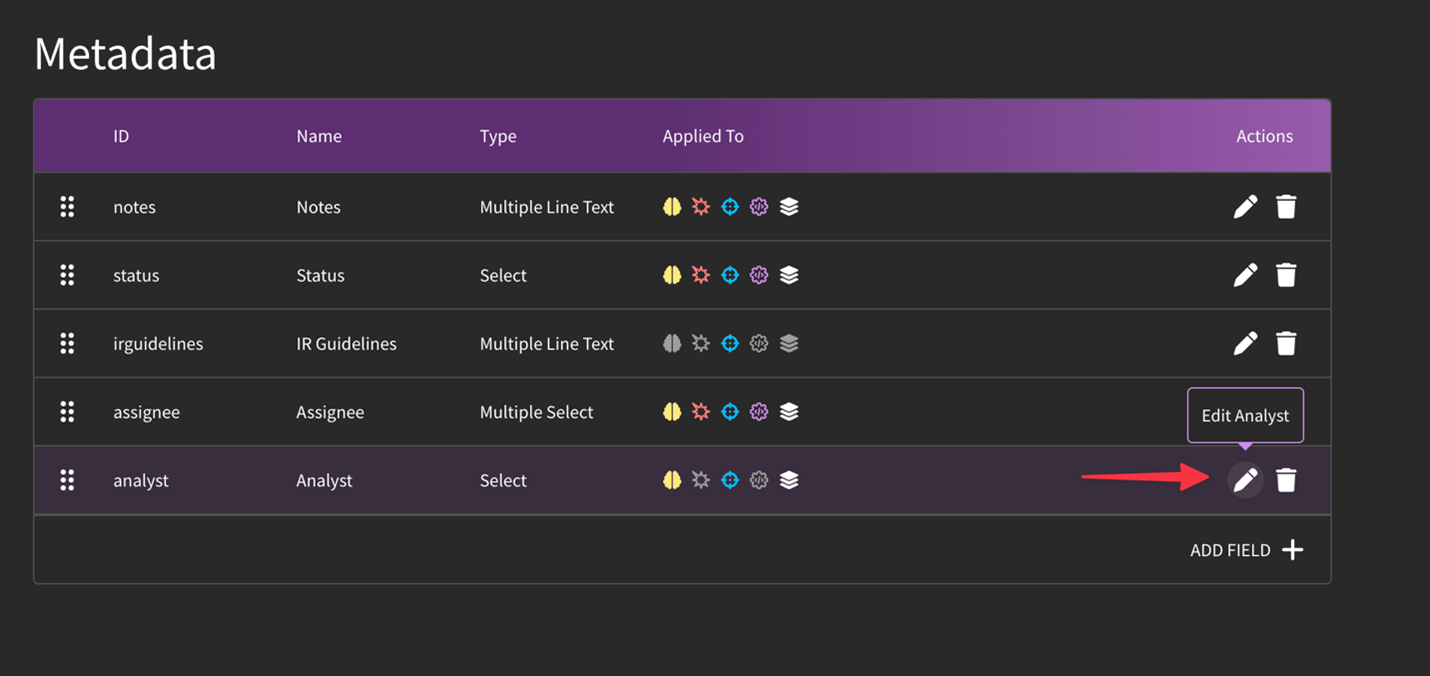
Editing Metadata
If you need to edit a field, let's say you have a new member who recently joined the team or perhaps a field has outstayed its welcome, you can do the following:
- On the Metadata Settings page, edit the field by clicking on the pencil icon
OR
- Delete the field altogether by clicking on the trash can symbol
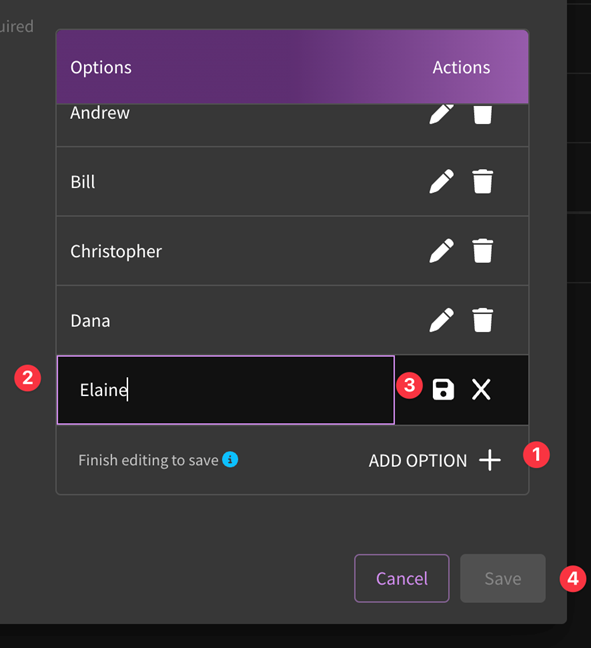
When editing your metadata field, click on either click "Add Option" include additional values, click the pencil icon or double click the value to edit existing ones, or the trash icon to delete previously added ones. Be sure you click "Save" once you are finished editing.
Using Metadata on Content
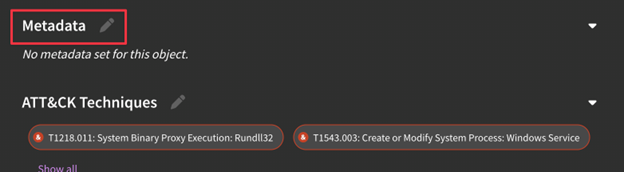
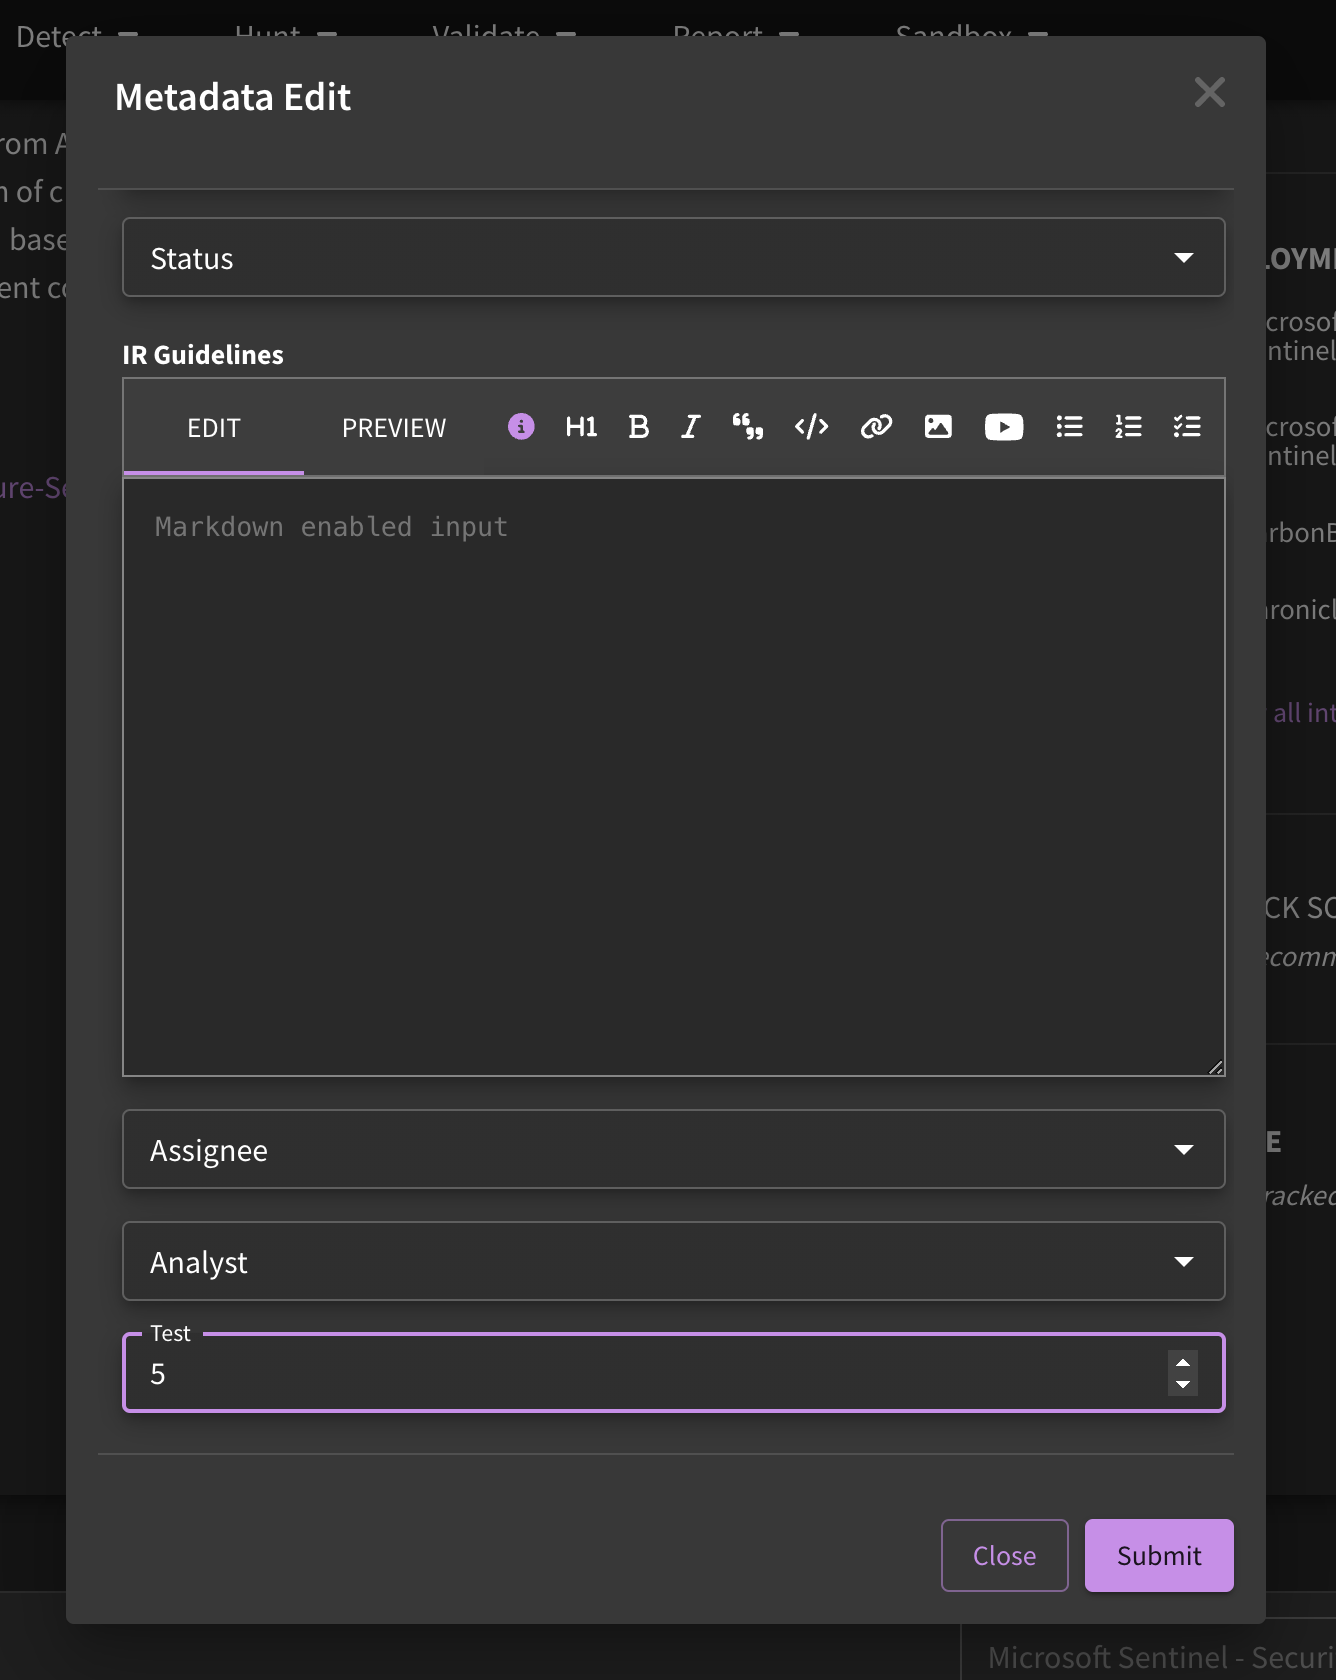
Now that you've set up your fields and metadata options, it's time to actually use them! To edit metadata on content, simply navigate to the content type that has your metadata. In this example, we are using a detection. Take note of the Metadata category present on the Settings page. If there are no previously assigned metadata values, the default message will say No metadata set for this object. To assign values, click on the pencil icon. This will open a modal will all of your available metadata fields. Simply fill out the data that is most relevant to your use case, then press save. Once you've done so, you will see the values now listed under Metadata! You can also use the pencil icon next to a particular field to quickly edit that one inline if you need to make any changes.
Filtering by Metadata Values
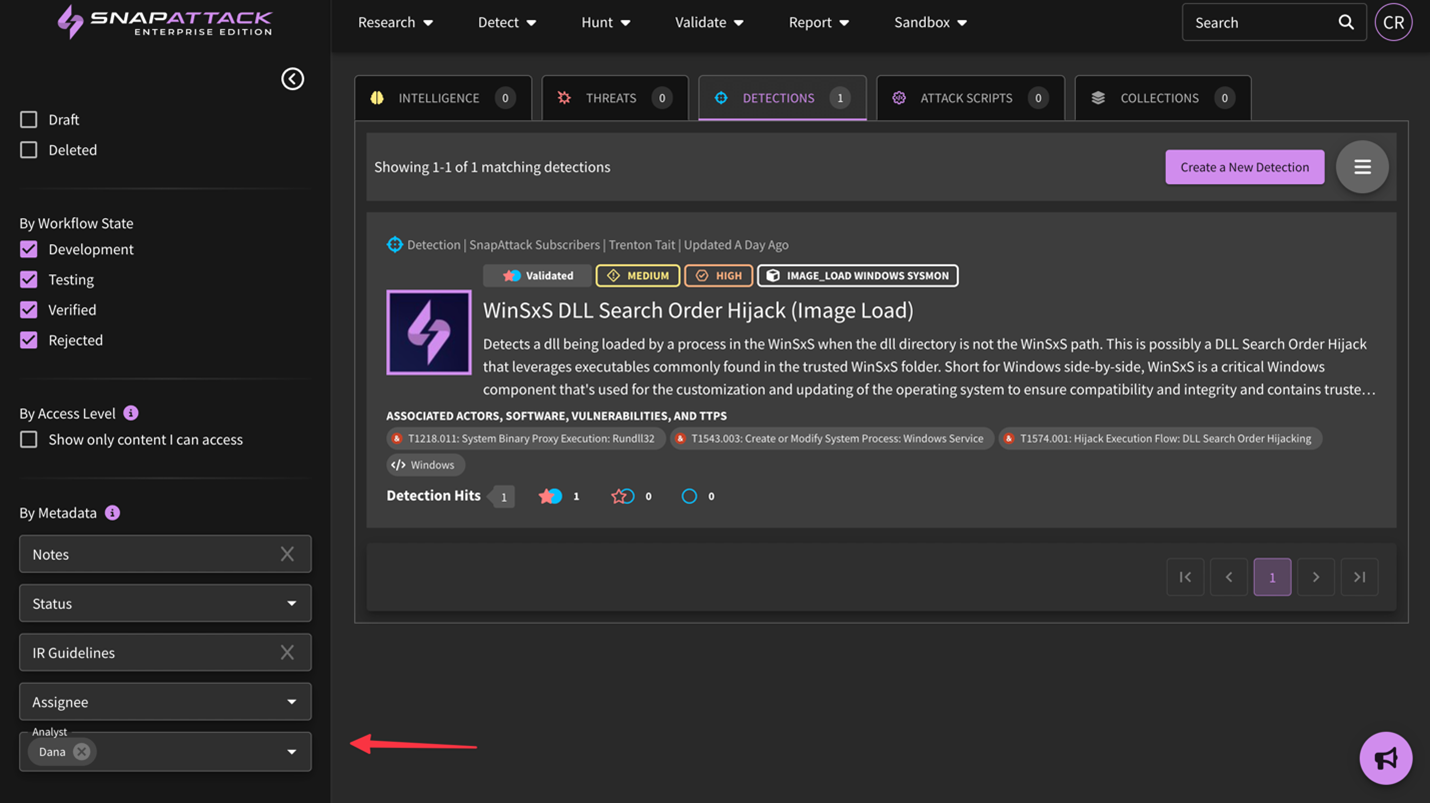
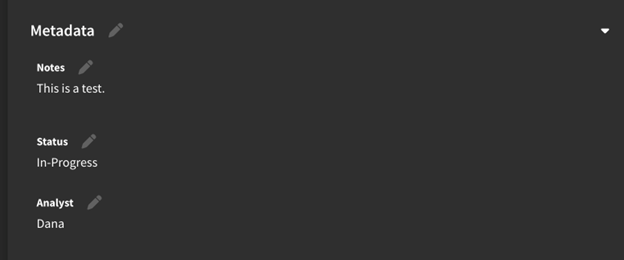
So you've set up your metadata and started tracking values on content across the platform -- great! Now, let's go through how to filter by them! On any feed page or collection that has assigned metadata, scroll down to the bottom-most filtering options. You will see By Metadata with all of your configured fields. As you saw in the previous screenshot, "Dana" had been assigned to a detection analytic. So, we are going to filter by "Dana" under the "Analyst" field. After doing so, you can see that the detection with this value has been bubbled up.
Take note that the text-box options (Single-text, Multiple-line text) operate on keywords, so if you had filtered by "test" (as part of the "This is a test" value under "Notes"), you would see the same filtered content.